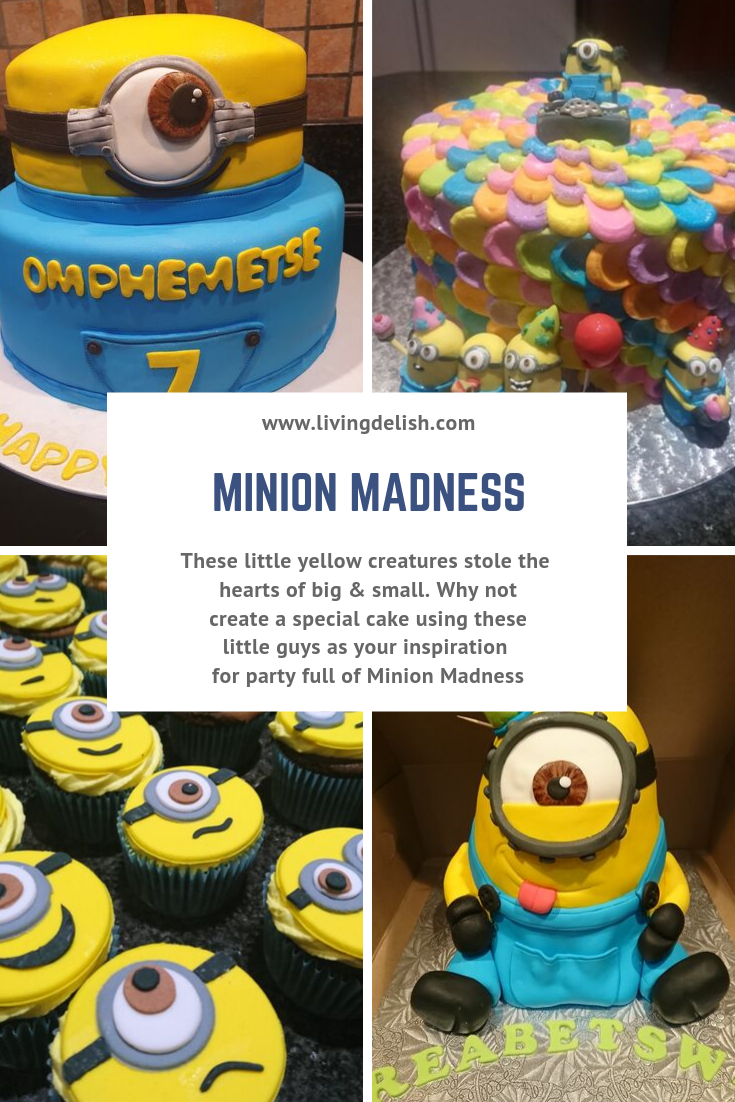
These little yellow creatures stole the hearts of big and small…
It’s been a while since the last minion movie appeared but to today the minion madness continues.
Why not create a special cake using these little guys as your inspiration.
Minion Madness Birthday Cakes

This cake is so easy to recreate but looks so impressive!
Start by making a big batch of buttercream icing. Looking for a good recipe? Try this one http://www.livingdelish.com/5-great-icing-types-to-try-today/
Share your batch of icing between 5 bowls. Colour each bowl a different colour and fill each colour into an icing bag.
Cut the tip off each bag. (By the way, I use disposable piping bags, it just makes life just so much easier)
Pipe a dot of your first colour at the base of your cake. Use the back of a teaspoon and press slightly on the dot of icing and while lightly pressing down smeer the icing to the side. Now add a dot of the next colour on the smeared end of the previous colour. Use the back of a teaspoon again and press slightly on the dot of icing and while lightly pressing down smear the icing following the same direction. Repeat this using all the different colours. I made little gumpaste minions to complete the festive look.
Once the first row is done, move one row higher and continue the dot and spoon step. Continue until the cake is covered. It helps if you keep a cup of boiling hot water close by, use 2 teaspoons for icing. Leave one in the hot water while working with the other. After each icing dot has been smeared, change your spoon to the hot one, just remember to dry your spoon before you use it. This helps to get a smooth finish on each smeared dot.
Fondant covered Minions
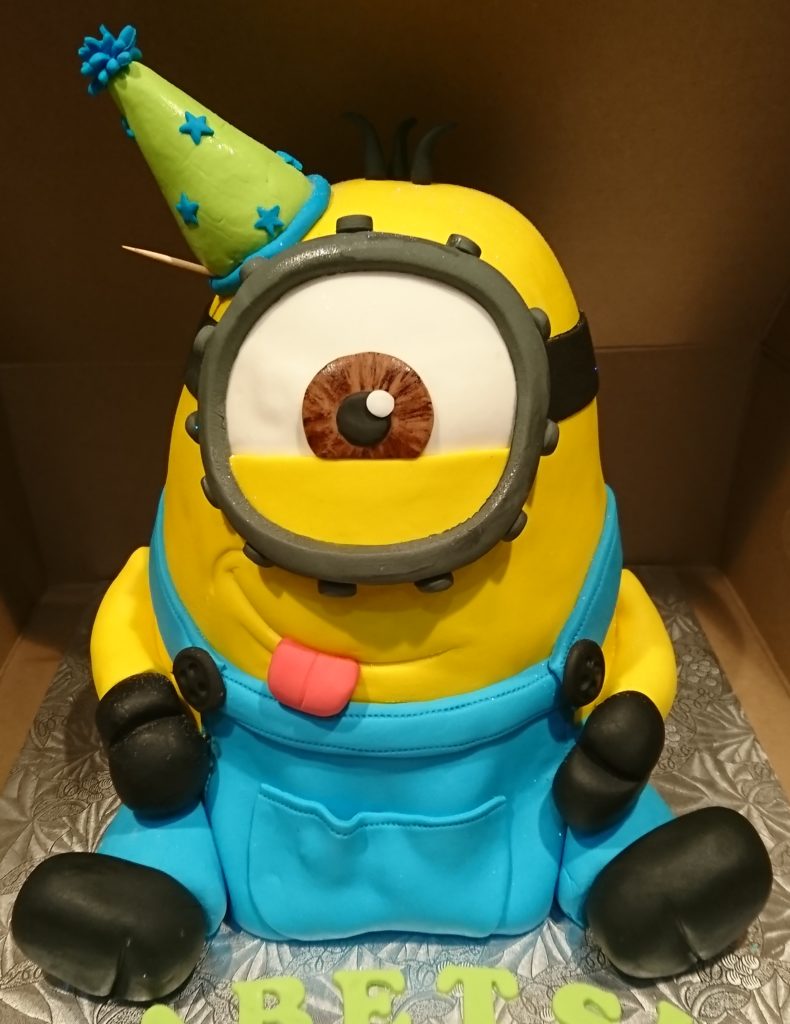
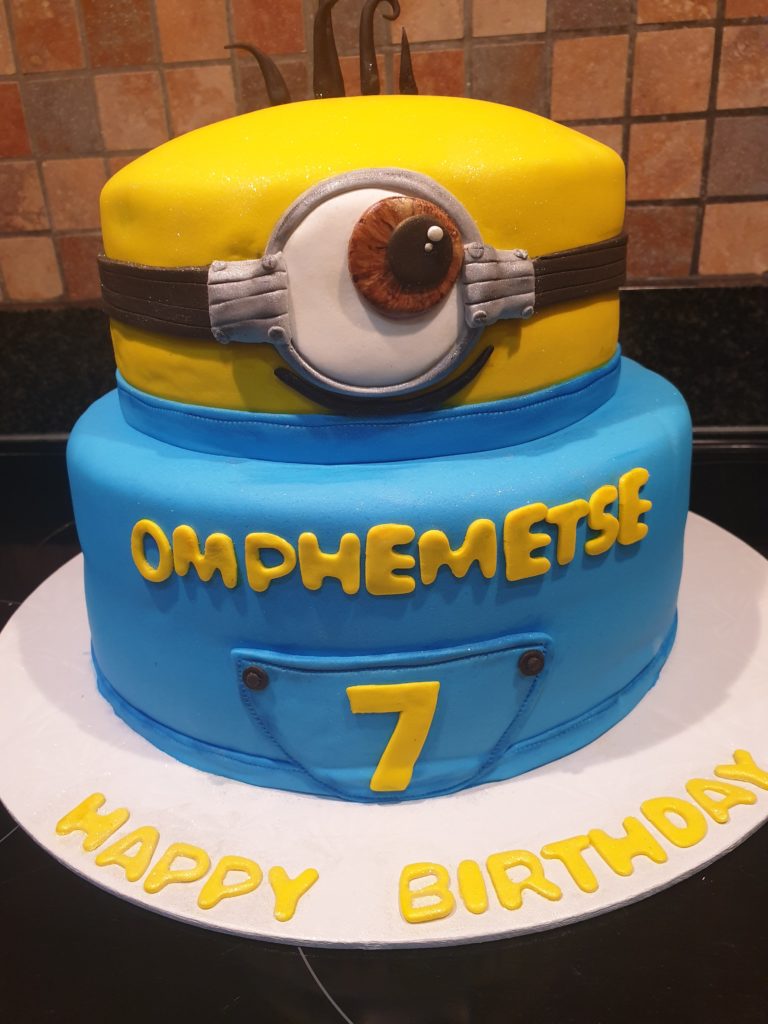
These two cakes are easy to recreate but will need a little bit more knowledge since you need to cover them in fondant. Here are some tips on how to use fondant if you are new to it. http://www.livingdelish.com/covering-with-fondant-like-a-pro/
For these cakes to be successful you will have to get the shape carved 100% before you crumb coat and cover them in fondant. Remember to chill your cake after the crumb coat. This really helps when you are ready to cover the cake in fondant.
Minion cupcakes

There are so many ways to make minion cupcakes, from all buttercream to fondant ones, like the ones in this picture. When I baked these I used Blue paper cups and topped the cupcakes with yellow coloured vanilla butter icing.
I made the faces in advance, using yellow gumpaste cut into circles. I find that when I do make things in advance, like these faces, if I rest the created faces on a baking tray lined with baking paper (wax side up) and sprinkled with a little cornflour, they don’t stick. You will find that circle shapes works very well here. Use the different sizes to make the body and eyes.
Minion Baby shower
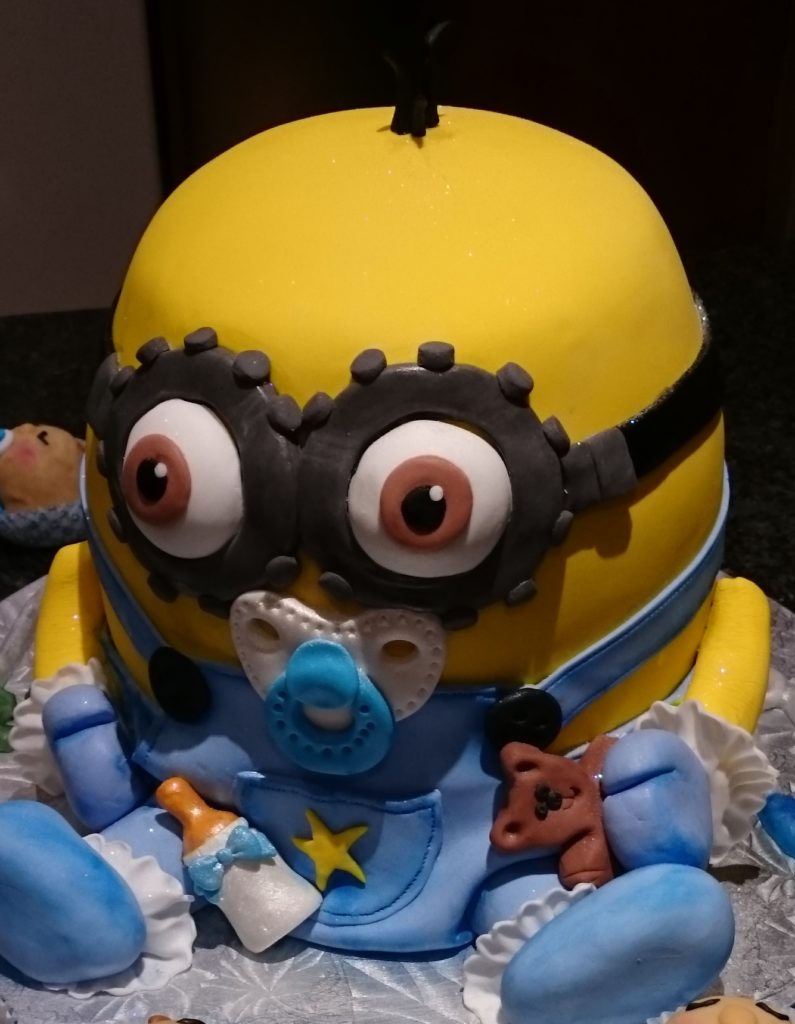
Like the 3D birthday cakes above this cake also need a little experience. Once you get your perfect shape cake remember to crumb coat the cake and chill it very good. Once the cake is chilled you can roll out your yellow fondant to about 1 cm thickness. Carefully drape your fondant over your cake, and smooth out.
Make sure there are no air bubbles trapped. Use a little bit water as glue and start to stick down the details. When I use water, I use a small soft paint brush. I paint a very thin layer of water where I would like to stick my item, let it sit for about a minute and then only add the detail on the wet piece. This allows a little time for the fondant to become sticky. Alternatively you can also you beaten egg whites as a glue if you do not have any store bought fondant glue.
I hope that you could find some inspiration with these cakes. You can pretty much create any minion that you would like, just by playing around with the eyes and hair. They are really easy to make. And their shape is also easy to carve.
Sent me some pic or let me know how your minion cakes turned out.
