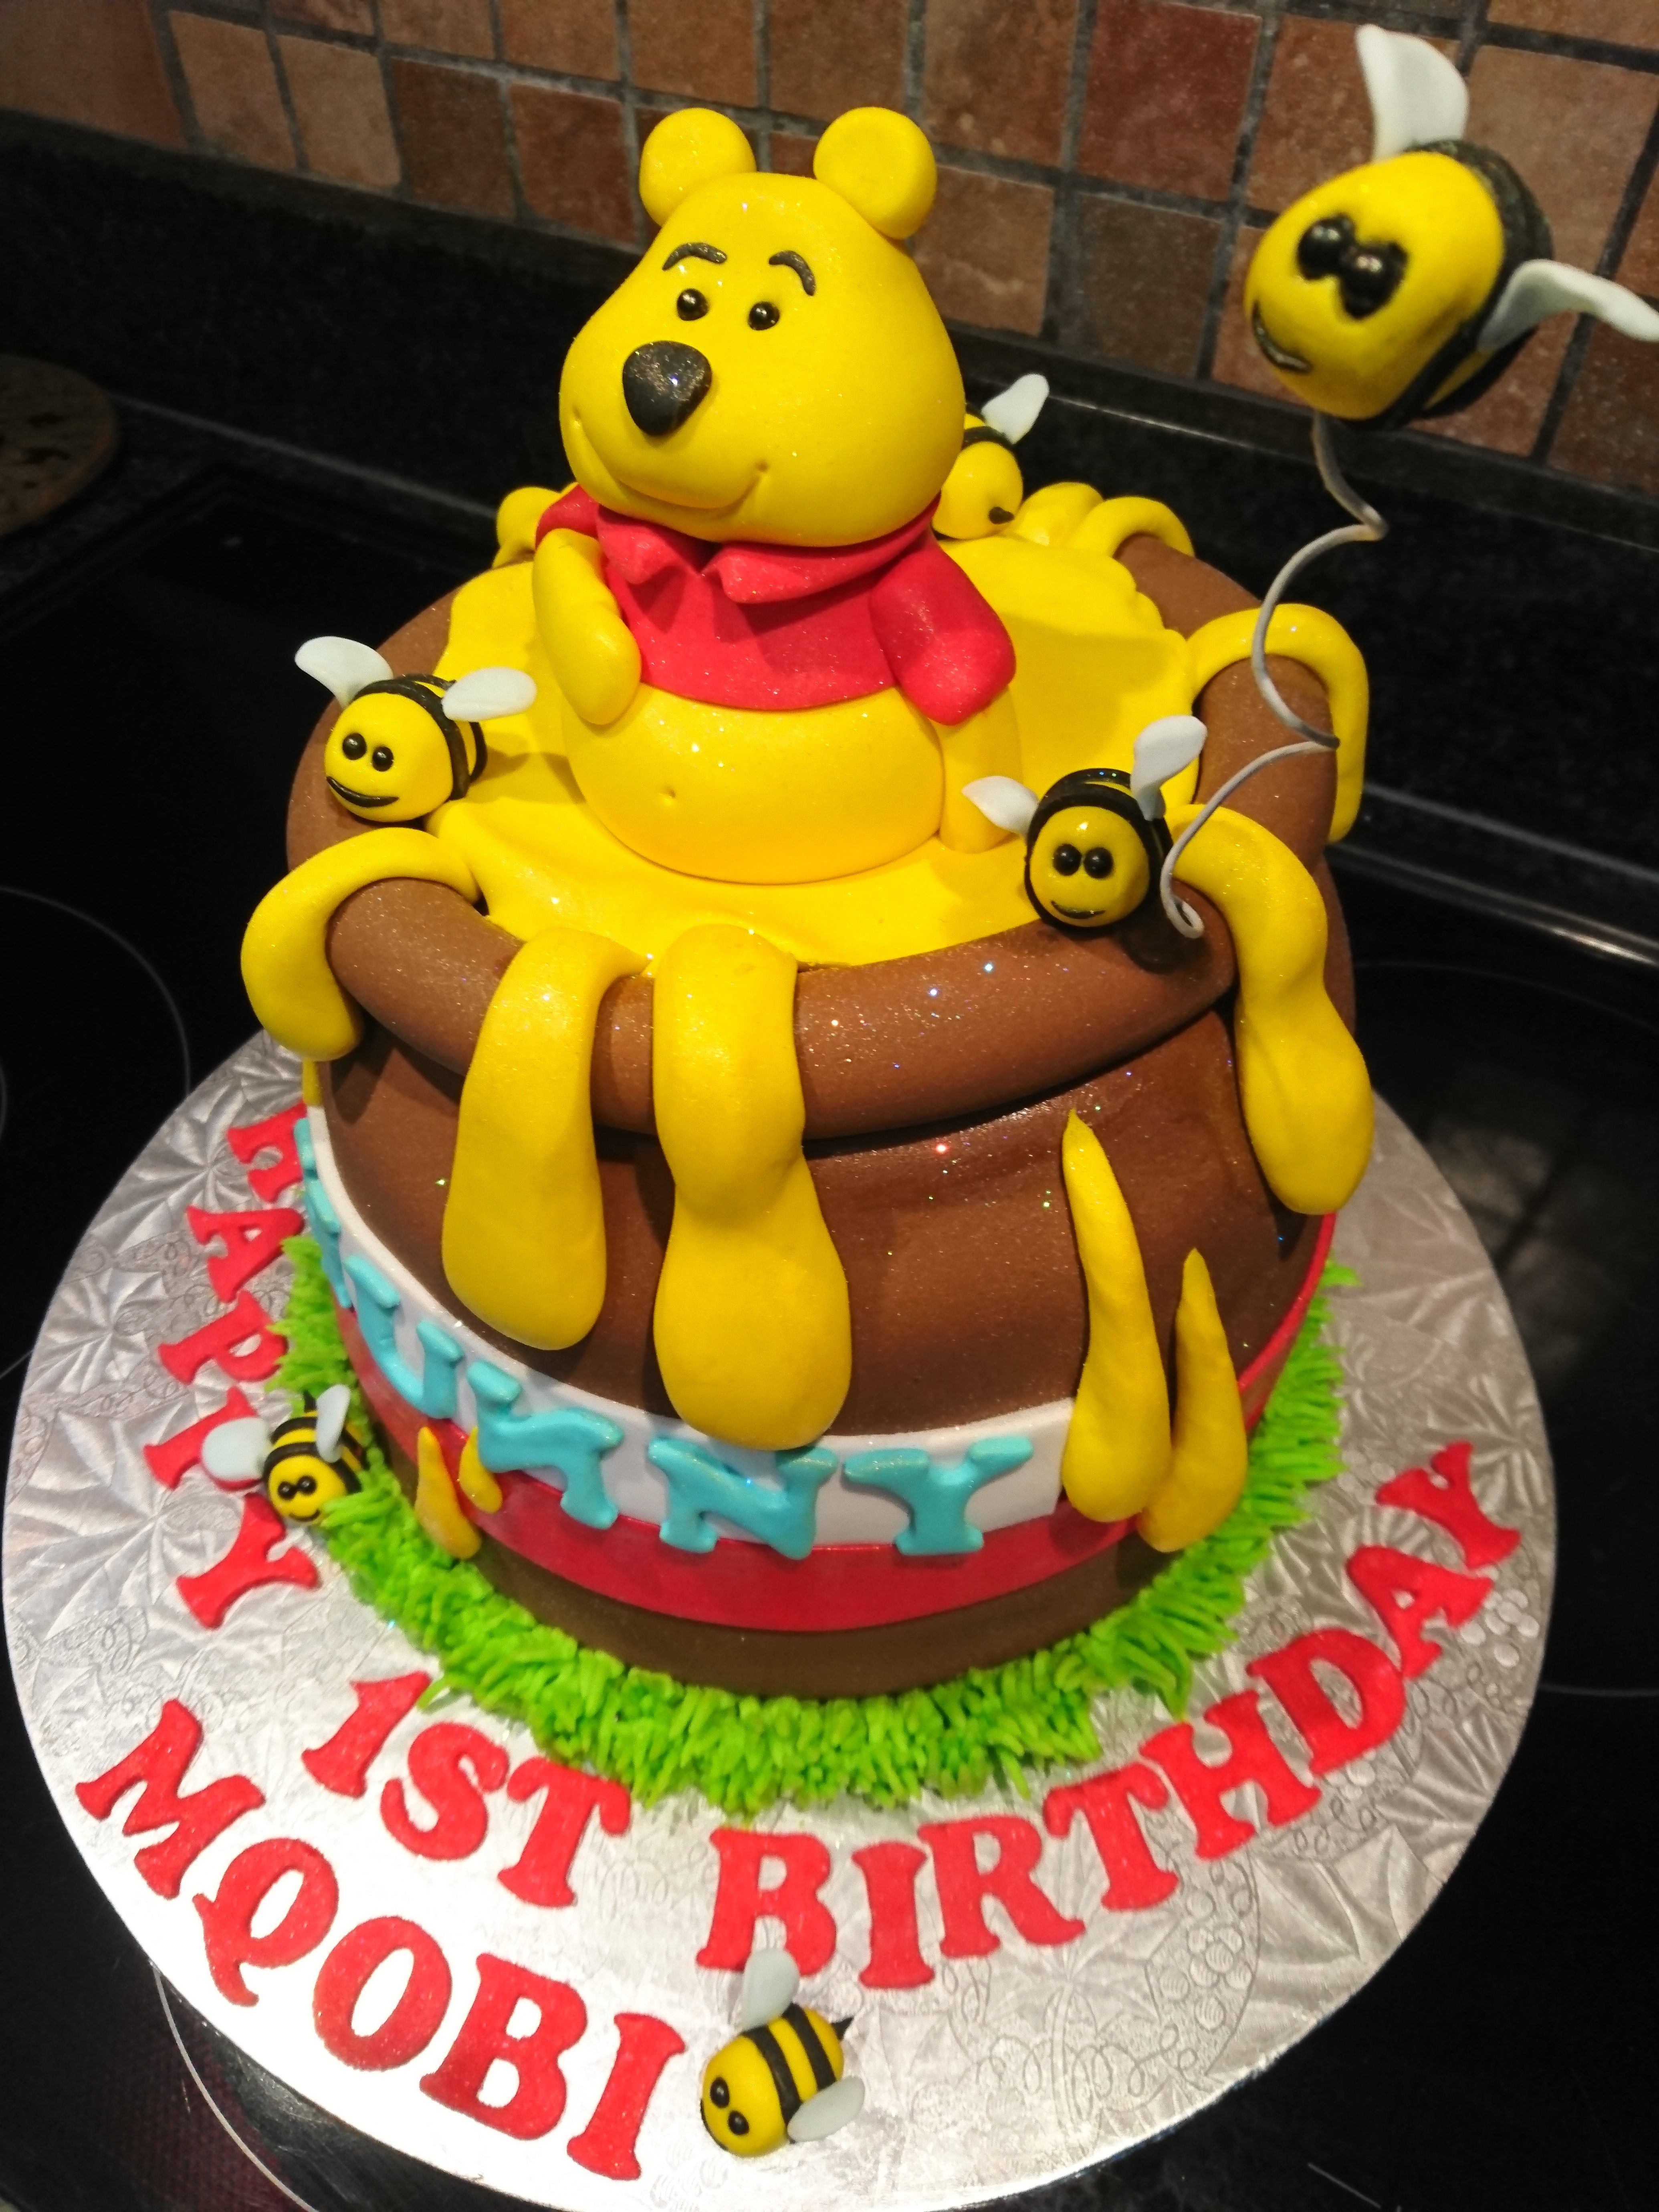
Where do one start? Using fondant seems like something that should best be left to the professionals. But the finished product looks awestruct, and definattley leaves your guests or even the birthday boy or girl, breathless.
Surely this is enough reason to give fondant covered cakes a try?
I have to admit, personally I do not like eating fondant. The sweetness is to overpowering for me, but then again I never really liked icing to start out with. A little bit just for flavour is enough for me. But when I start using fondant on my cakes. I quickly realized the importance thereof. Not only does it look great on a cake and not to even mentioned the amount of creative objects and figures you can create for your cake, but it keeps the moist in the cake. I have always been one that believes :
“Taste is just as important as looks…”
I remember my first attempt. Man oh Man… Looking back, It was actually a bit of a disgrace. I feel a bit embarrassed that I actually served that cake for my daughter’s 6th birthday…. But hey, everyone needs to start somewhere. And this was definitely a case of “practise makes perfect”!! 😂
Advice given to me, was not the best. I realise that now…. To cover your cake in jam and then fondant, is NOT a good idea!! I think this was probably the driest cake ever!! It did however look pretty… A little mushroom shaped fairy house with the characters from tinkerbell dancing around it.
But, those poor parents who had to eat the cake. (I’m sorry…. ) at least no one said anything. This probably gave me the confidence to give it another shot.
This time around, I read up, alot!! And very excitedly I started to collected a series simply called : “Cake decorating”. Every week a new issue would came out with new tools and gadgets alongside a little book!! Oh, that was such a treat! I studied every issue back to front and tried all the things that I read. I placed all the little gadgets proudly into a container. Some of them I still use to today while others I might not use ever. But this started a great collection of different tools. And to today I still buy myself some kind of nice baking accessory each month. And by now I have a lovely collection.
The difference between Fondant, sugarpaste and marzipan.
Fondant
Fondant is most commonly used in sculpting objects, decorating cakes, cupcakes or even pastries. The texture is very much like that of play dough. Traditionally fondant (the rolled type) is made out of a base consisting of water, sugar and corn syrup among some other ingredients. If you have watched an episode of “The cake boss” you will see them using fondant for all their sculptures and cake.
Fondant plays an important role in preserving your cake. As it seals in the moist and prevents the cake from drying out and going off to quickly. It tends to firm up, so it’s best to serve fondant at room temperatures.
Sugar paste
Also referred to as sugar gum or gum paste.
Sugar paste is very similar to fondant. It’s mainly made with sucrose and glucose. It works very well in larger decorative objects. Because it slightly firmer than fondant therefor holding its shape a bit better. Other than that, they are pretty much the same. However, the biggest advantage of store bought sugar paste is that if it is stored in a well sealed/airtight container it can last up to a year.
Marzipan
Marzipan is a paste made of ground almonds, egg whites and sugar. But it tends to be a bit pricey. Over the years it has grown out of fashion, and you will find less and less cakes being covered with it. Marzipan tastes strongly like almonds with nut allergies being the biggest down fall to consider.
My tips for using fondant
- Never underestimate a good coat of buttercream icing (not jam!!!) under your fondant. I use to slap the buttercream icing on before covering my cake with fondant, thinking that the fondant will cover and smooth out everything. In time I learned “crumb coat” is the correct method. Crumb coating your cake takes care of all loose crumbs that might be on your cake. Even a second layer of crumb coat is advisable, with cooling time in between the layers. So crumb coating is simply a masking layer of buttercream icing or ganache sealing your cake.

To crumb coat your cake, sweep a smooth, thin coat of buttercream over the top and sides of your cake. Using a scraper or palette knife, smooth the edges trying to achieve the smoothest finish posible.
- Put your muscles to work, and make sure to knead that fondant for a good couple of minutes!! This will soften it up and will make it more pliable, making it much easier to work with.
- Working on a non-stick surface will make things easier. I use a silicone rolling mat. This also helps me if I need to lift rolled out fondant up to cover a cake. Things can get a bit sticky, so make sure your surface, tools and hands are SUPER dry.
- For lighter coloured fondant, use a bit of icing sugar or cornstarch to assist rolling out your fondant. Cover your hand, rolling pin and surface you are working on with this.
- For darker coloured fondants, I like using a little bit of white vegetable fat or shortening. When using icing sugar on black fondant for instance, you will find that it leaves horrible white marks everywhere. So by using vegetable fat or shortening you will have no marks. Just remember to use it sparingly as too much will soften your fondant up too much and you will struggle to work with it.
- Get all your tools that you might need out, before you start to roll out your fondant. Remember, if you leave your rolled out fondant to long it will start to harden slightly this will cause cracks, tears and “elephant skin” on your cake. (P.s. Elephant skin is a real thing!! And it looks terrible on a cake. It is caused by fondant drying out and almost looks like little wrinkles on a very porous skin.)
- Fix your elephant skin by using shortening/vegetable fat opposed to cornstarch or icing sugar.
- When rolling out your fondant, only roll it out to a thickness of about 5 mm to 1 cm. You will have to lift your fondant off the surface you are working on and if you roll it out to thin it will stretch and tear even before you can put it on your cake.
- It will help you alot to work on a silicone mat. When you have finish rolling out your fondant simple pick up the whole mat and flip it slowly over your cake. This way your fondant can not stretch and will be less lightly to tear.
- As soon as your fondant is draped over your cake, cut the excess hanging over and onto the cake board with a pizza cutter. I know there are alot of fancy tools out there, but I honestly think that a pizza cutter does the same if not better job.
- Press and smooth your fondant using your hands and fingers. Shape around edges and form fondant around corners where needed. Do not press to hard, as it will leave finger marks, and work quickly to avoid your fondant drying out or the heat from your hands making it sticky. Now smooth your fondant gently with two cake smoothers. Working from the centre of your cake to the edges, almost like polishing your cake in small circle motions.
- When an air bubble appears under your fondant, make a small hole, using a needle to help the air escape. you can use your cake smoothers to direct the air to the hole that you have made.
- When colouring fondant, use gel colours instead of liquids. Liquid colours tend to make your fondant very sticky. If you have used gel colours before you know that only a few drops is required to achieve a brilliant colour. Rather buy red or black colored fondants. If you colour them yourself you will have to add large amounts of coloring that will change the consistency of our fondant dramatically and you might end up with fondant that is unusable.
